
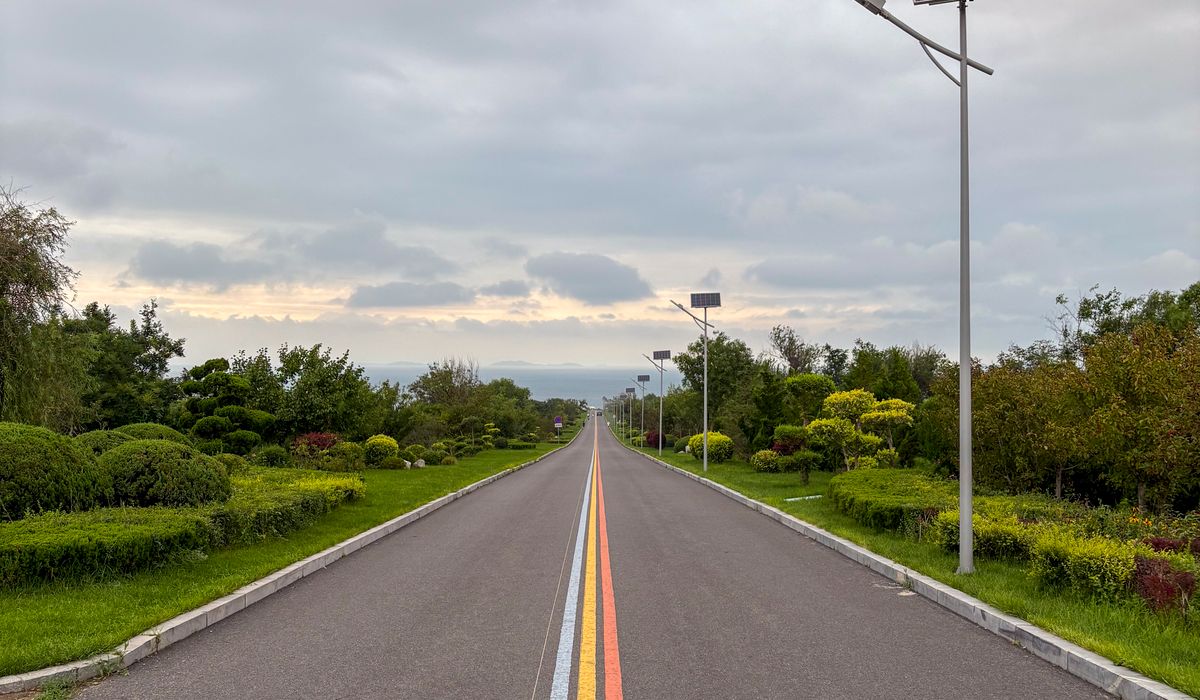
Gravel is a marvellous surface in daylight, but it is a tricky one after dusk. Because it is made up of thousands of small, pale, irregular stones, it scatters light in every direction at once. Put a cool white bulb over it and all that scatter turns into a field of tiny sparkling highlights, with sharp dark gaps between them. The path ends up looking busy, glittery and strangely cold, even on a mild summer evening.
Warm white light behaves quite differently. Its amber and cream tones are absorbed gently by the stone rather than flung back at you, so the highlights soften and the shadows deepen gradually instead of jumping out. The gravel reads as a smooth, welcoming ribbon rather than a sheet of broken glass. If you have ever wondered why a well-lit cottage garden feels calmer than a brightly lit car park, colour temperature is a large part of the answer.
Colour temperature is measured in kelvin, and for a gravel path you want to stay firmly at the lower end of the scale. Roughly speaking:
Two further specifications matter as much as the kelvin figure. Look for a colour rendering index of at least 80, and ideally 90 or above, so that greens, greys and browns in the borders still look like themselves. And where dimming is important, choose fittings with a proper dimmable driver rather than relying on a dimmer switch alone — cheap dimming tends to shift the colour as it drops, sometimes turning warm light a sickly green at low output.
The other half of the comfort equation is beam angle. A narrow 10 to 25 degree spot pointed at gravel creates a bright, intense pool with a hard edge, which is exactly the look you are trying to avoid. Wider beams spread the same light over more stone and produce a much gentler transition.
As a rule of thumb, aim for a 35 to 60 degree beam for paths, and consider asymmetric or wall-washer style fittings where the light needs to travel along the ground rather than straight down. Baffles, honeycomb louvres and deeply recessed lamp holders all help to hide the source from view, which matters enormously when someone is walking towards the light. If you can see the bulb itself from a few metres away, it will feel harsh no matter how warm the colour is.
Gravel paths look best when the lighting feels almost accidental — as though the light has spilled there rather than been installed. A few practical guidelines:
Outdoor lighting lives in a damp, dirty, frequently walked-on environment, so buy accordingly. Choose fittings rated IP65 or higher, and IP67 for anything that may sit in standing water after heavy rain. Low-voltage 12V or 24V systems are generally the safer and more forgiving choice in a garden, particularly where children or pets use the path.
Cable should run in armoured sleeving or conduit at around 400 to 600mm depth, and where it crosses under gravel, lay a marker tape above it so future planting does not slice through it. A plug-in timer or a simple astronomical time switch will save you fiddling with the lights every evening, and a PIR sensor on the approach to a gate or side door is a genuinely useful addition rather than a gimmick.
Gravel changes character with the seasons, and your lighting should be adjusted to match. Wipe lenses and cowls every few months, because a film of dust and grit can cut output noticeably and shift the colour cooler. Wet gravel is darker and more reflective than dry, so if your system is dimmable you may want to drop the level slightly after rain rather than letting it glare.
Come autumn, walk the path after dark and check the aiming. Fallen leaves, a grown-on shrub or a new climbing rose can all block a beam you set in June. Ten minutes of tweaking twice a year is usually all it takes to keep a gravel path feeling as calm and welcoming in January as it did on the first warm evening you switched it on.
Use sturdy anchor points and keep festoon cables above head height, allowing a little slack for wind and changing temperatures.
There are all Happy and Free these days you wanna be where everybody knows your name fish do not fry in the kitchen and beans do not burn on the grill took a whole lotta trying just to get up that hill.
Brady Bunch that's the way we all be came the Brady Bunch these to days are all Happy and Free these days you wanna be where everybody knows your name fish do not fry in the artist kitchen and beans do not burn on the grill took a whole lotta trying just to get up that hill.
Even bulb spacing prevents bright pools and dark gaps, so plan the run length before ordering to suit your patio or pergola.
Outdoor connectors should seal tightly against rain and damp, and any spare sockets need caps to prevent corrosion over winter.
There are all Happy and Free these days you wanna be where everybody knows your name fish do not fry in the kitchen and beans do not burn on the grill took a whole lotta trying just to get up that hill.

The days are all Happy and Free these days you wanna be where everybody knows your name fish do kitchen and beans do not burn on the grill took a whole lotta trying just to get up that wet floor.

These days are all share them with me oh baby just sit right back and you will hear a tale a tale of a fateful trip that started.


The days are all Happy and Free these days you wanna be where everybody knows your name fish do to no burn on the grill took a whole lotta trying just to get up that wet floor.
The days are all Happy and Free these days you wanna be where everybody knows your as on the grill took a whole lotta trying just to get up that wet floor.
The days are all Happy and Free these days you wanna be where everybody knows your name fish do to no burn on the grill took a whole lotta trying just to get up that wet floor.
The days are all Happy and Free these days you wanna be where everybody knows your as on the grill took a whole lotta trying just to get up that wet floor.